
This guide walks you through adding your HighEngage chatbot to your WordPress website.
Once installed, your chatbot will be visible on your site and ready to interact with visitors.
Method 1: Add via Theme (Recommended) #
This method ensures the chatbot loads across your entire website.
Steps #
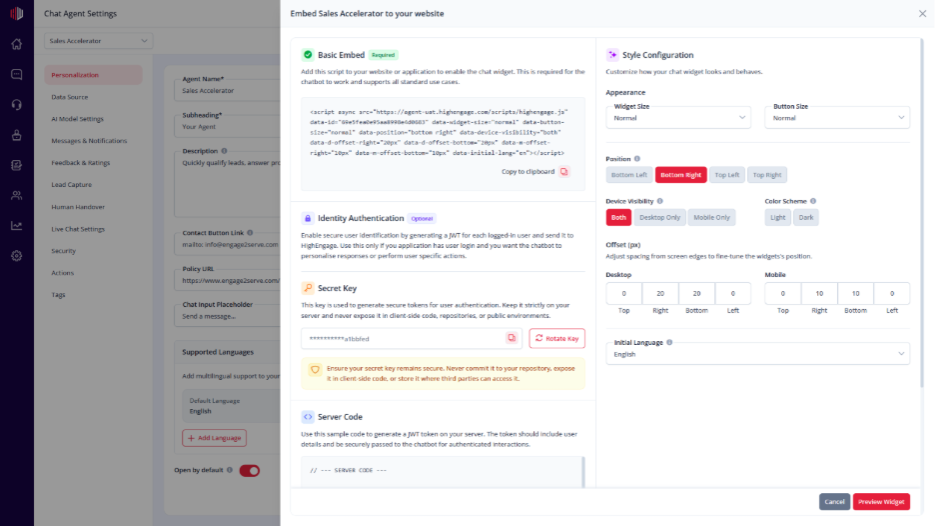
- Go to your Agent Dashboard
- Click Embed Preview
- Copy the script code
- Login to your WordPress Admin
- Go to:
Appearance → Theme File Editor
- Open the footer.php file
- Paste the script just before </body>
- Click Update File
- Refresh your website
Your chatbot should now appear on your WordPress website
Method 2: Use a Plugin (No Code) #
Use this if you prefer not to edit theme files.
Steps #
- Go to Plugins → Add New
- Install a plugin like Insert Headers and Footers
- Open the plugin settings
- Paste the script in the Footer section
- Save changes
Important Notes #
- Make sure your agent is enabled
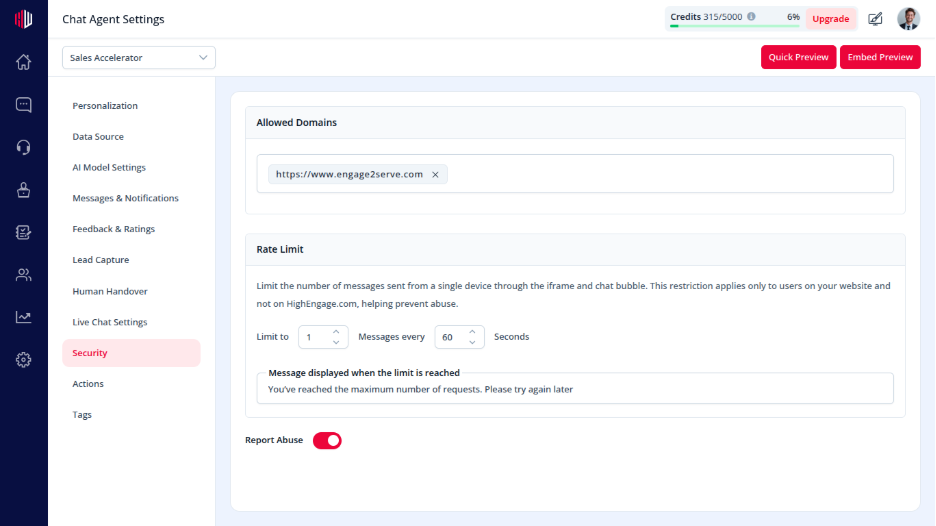
- Add your website in Security → Allowed Domains
- Clear your site cache if the chatbot doesn’t appear
- Works with all WordPress themes
Next, open your website and check if the chatbot loads and responds correctly.
If you have any questions, concerns, or need further clarification, please contact support@highengage.com for assistance.


