
Agent management in HighEngage allows you to create, view, update, and control all your AI agents from a single place.
This helps you manage multiple use cases (sales, support, operations) efficiently.
Where to Manage Agents #
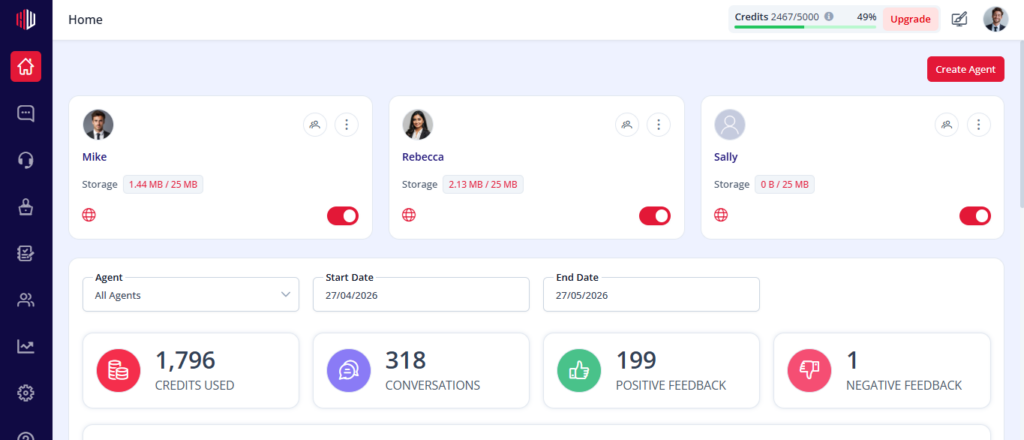
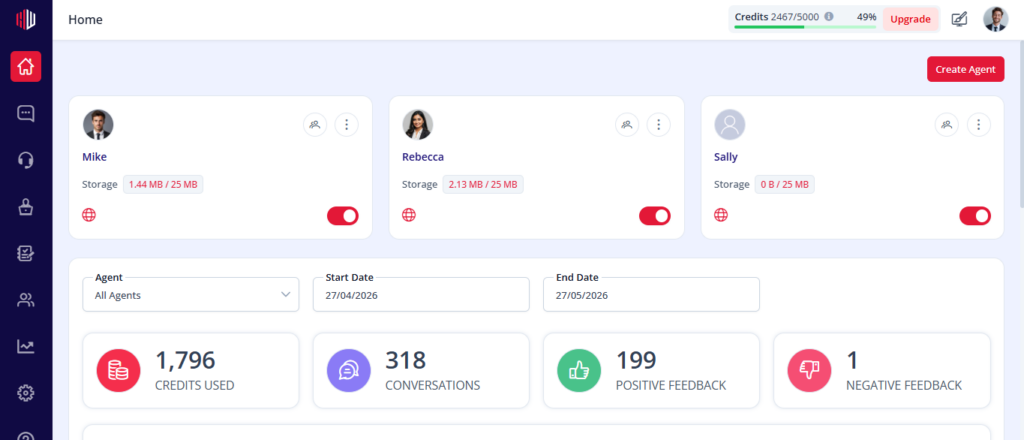
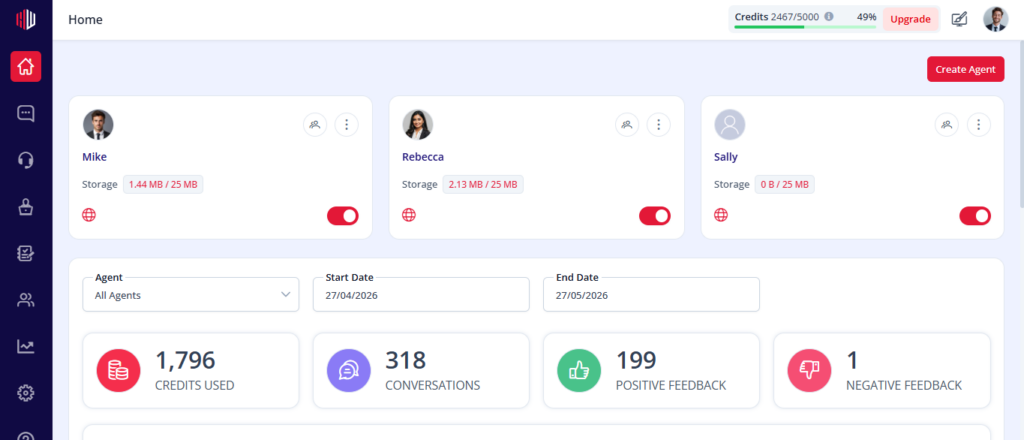
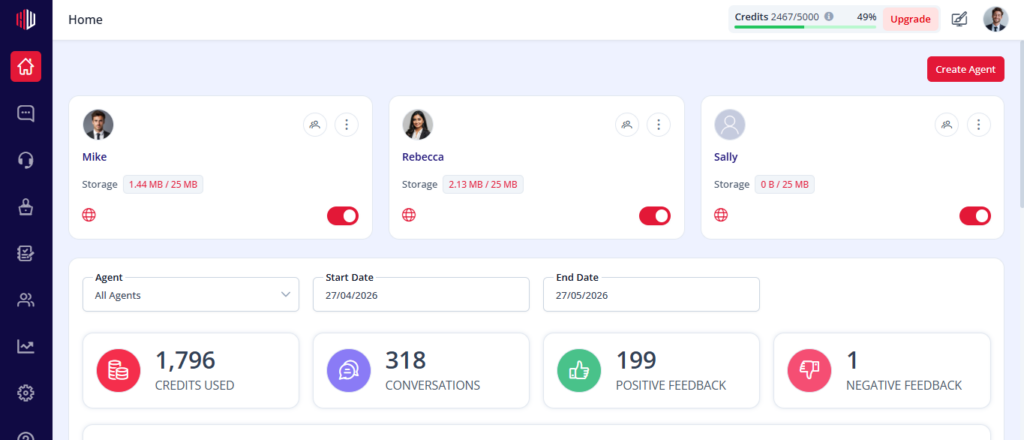
- Dashboard showing agent cards with toggle and options menu.
- You can manage all your agents directly from the Dashboard.
- Each agent appears as a card with key details and actions.
What You Can Do with Agents #
Create a New Agent #
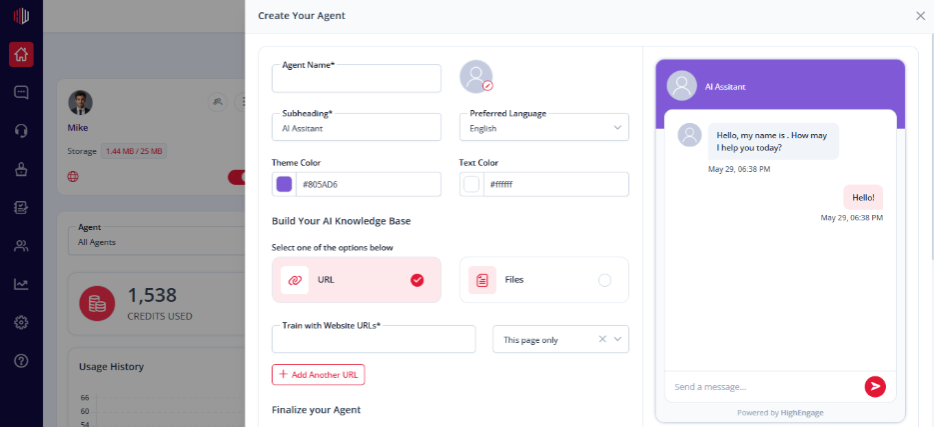
- Go to the Dashboard
- Click Create Agent
- Enter the agent name
- Upload the data source
- Click Create
View Agent Details #
Each agent card shows:
- Agent name
- Storage usage
- Connected channels (e.g., Web)
- Current status (Active / Inactive)
- Preview
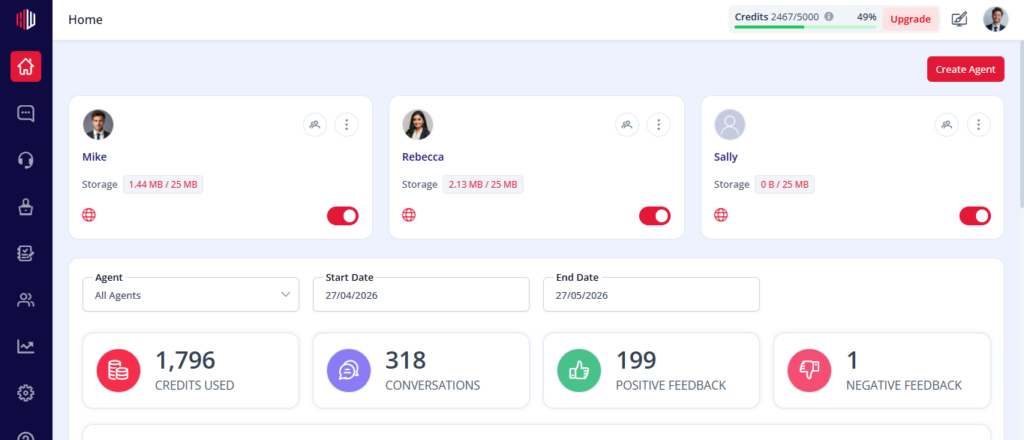
This gives you a quick overview of each agent.
Edit an Agent #
To update an agent:
- Click the three-dot menu on the agent card
- Select Edit
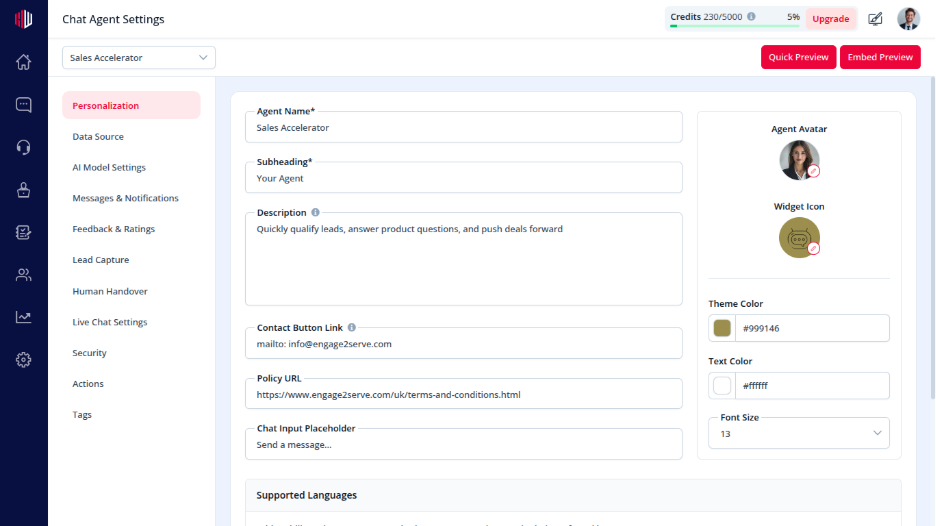
You’ll be taken to the Agent Settings where you can update:
- Personalization
- Data Source
- Workflows
- Integrations
- And more
Enable or Disable an Agent #
Each agent has a toggle switch:
ON → Agent is active and responds to users
OFF → Agent is disabled
When disabling an agent:
- You’ll be asked to provide a default message
- This message is shown when the chatbot is unavailable
Delete an Agent #
- Click the three-dot menu
- Select Delete
Deleting an agent will permanently remove:
- Its data
- Conversations
- Configurations
This action cannot be undone.
When Should You Disable vs Delete? #
Disable → Temporary pause (e.g., maintenance, testing)
Delete → Permanent removal when the agent is no longer needed
Best Practices #
- Use clear names for each agent (e.g., Sales Bot, Support Assistant)
- Keep agents focused on a single use case
- Regularly review performance from the dashboard
- Disable unused agents instead of deleting immediately
If you have any questions, concerns, or need further clarification, please contact support@highengage.com for assistance.


