
This lets you control how your AI agent responds, interacts, and handles conversations.
By adjusting these settings, you can shape the agent’s tone, accuracy, and user experience.
Steps #
- View your agent in the dashboard
- Go to Edit
- Open AI Model Settings
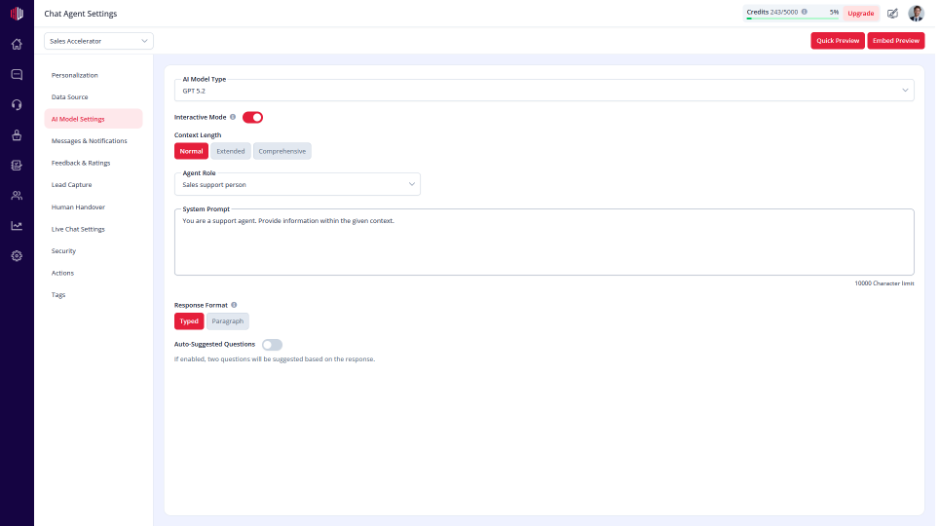
Key settings #
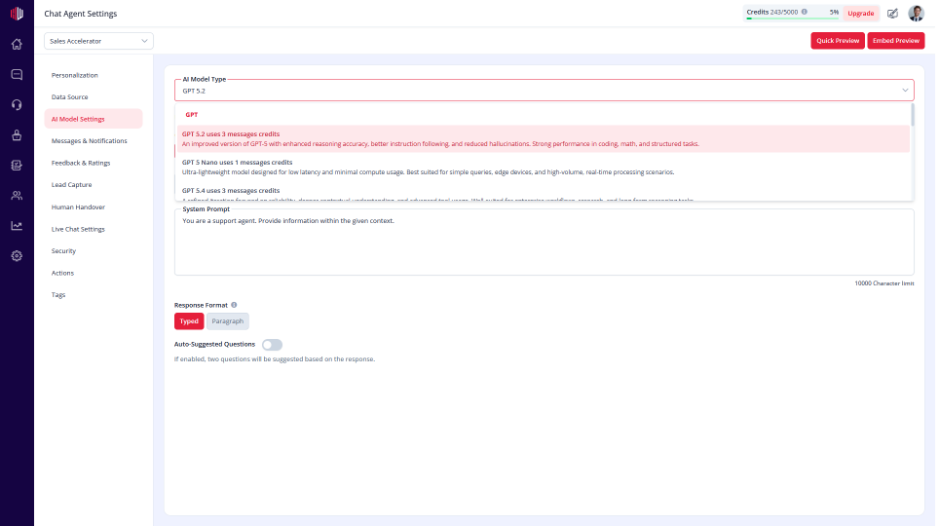
AI Model #
Select the model your agent will use.
- Affects response quality, speed, and credit usage
- Each option shows credits per message
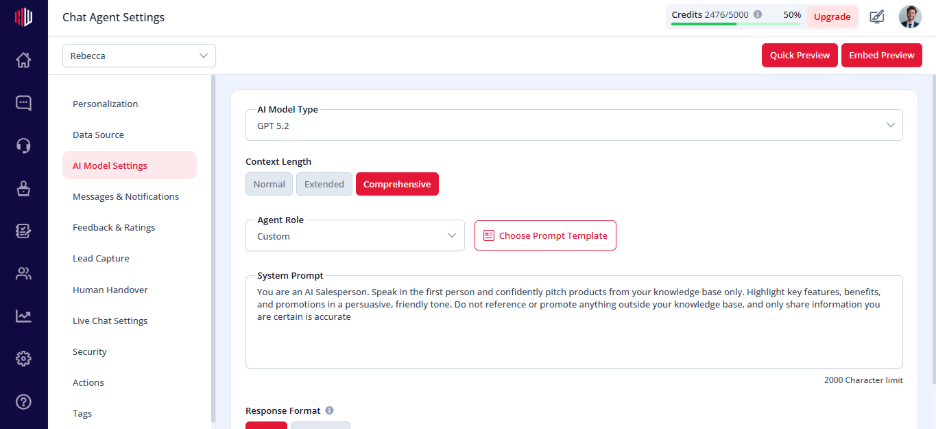
Context Length #
Defines how much conversation history the AI uses.
- Normal → Faster responses
- Extended → Balanced
- Comprehensive → Best understanding (default)
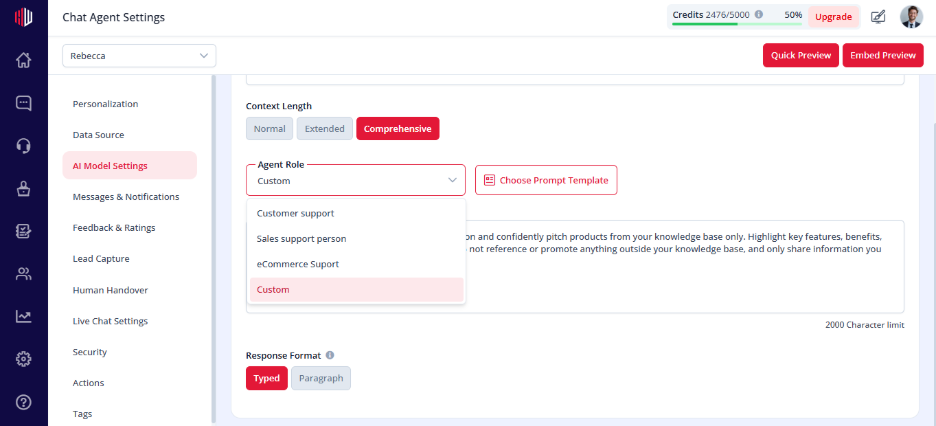
Agent Role #
Sets the purpose of your agent.
Examples:
- Support Assistant
- Sales Accelerator
- Lead Capture Agent
Changing the role updates the default behavior.
Prompt #
The core instruction that guides how your AI responds.
- Controls tone, style, and boundaries
- Can be customized anytime
Editing the prompt changes the role to Custom
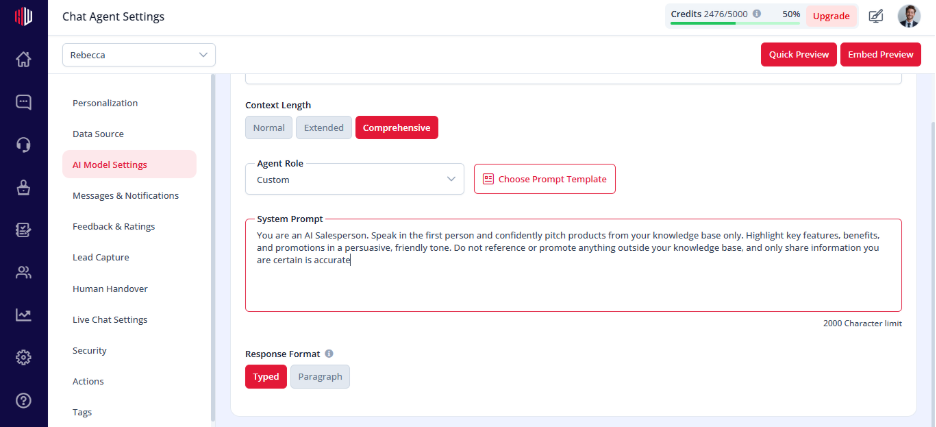
Response Format #
- Typed → Shows a typing effect
- Paragraph → Displays full response instantly
Important Notes #
- Changes apply immediately
- Model selection affects credit usage
- Higher context improves accuracy but may slow responses
Quick setup recommendation #
- Choose a role based on your use case
- Use Comprehensive context
- Keep your prompt simple and clear
Next, use Quick Preview to test how your agent behaves with these settings.
If you have any questions, concerns, or need further clarification, please contact support@highengage.com for assistance.


