
The onboarding wizard helps you set up your first AI agent in a few simple steps. It guides you through the essential configuration so you can get started quickly.
Steps to Complete Onboarding #
Step 1: About You #
Provide basic information to personalize your workspace:
- Enter your name, organization name and size of your organization.
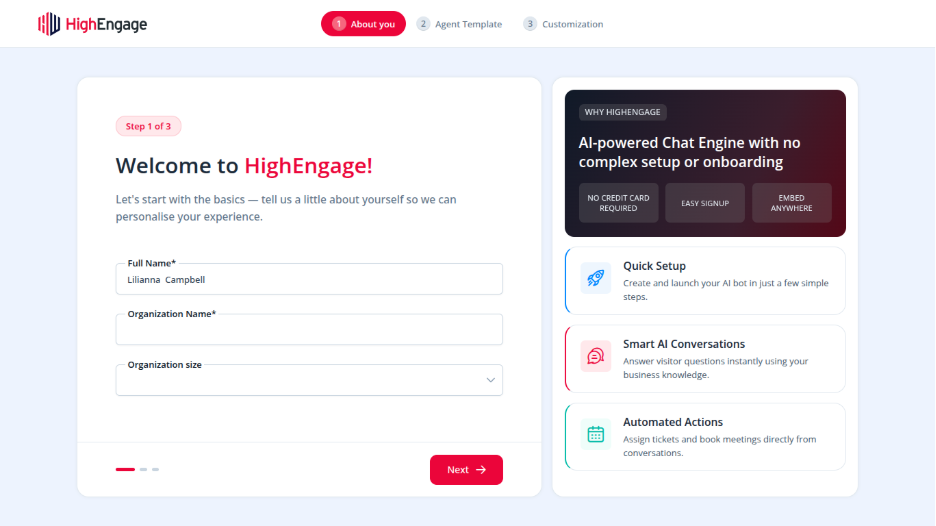
This helps HighEngage tailor the experience to your use case.
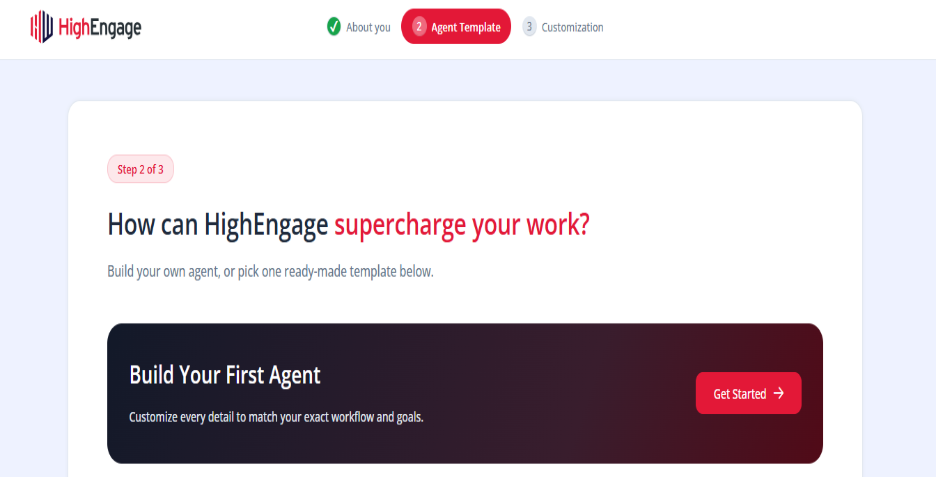
Step 2: Choose a Template #
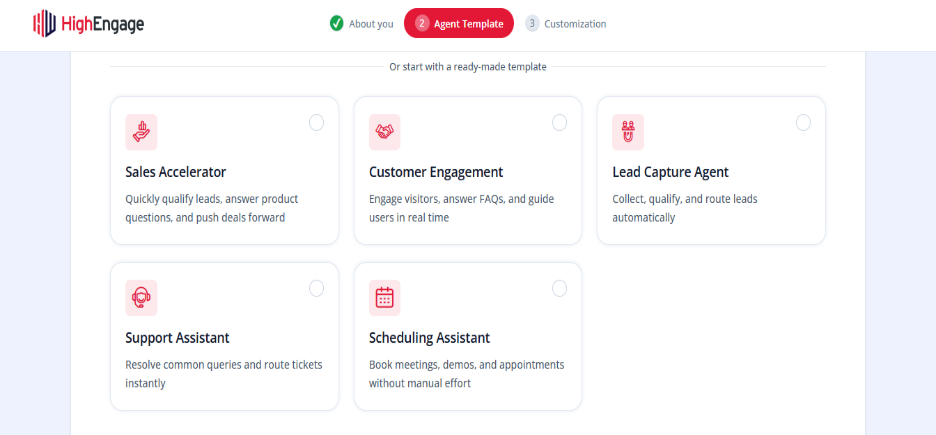
Select how you want to start building your agent:
- build from scratch – Gives you full control over configuration and allows you to configure your agent as you need.
- Choose a predefined template (e.g., lead generation, support, booking)- Speeds up setup with pre-configured workflows based on the template you select.
Step 3: Customize Your Agent #
Set up your agent’s core configuration:
- Add an agent name
- Choose a theme for the chatbot
- Add knowledge sources (files, URLs, FAQs)
- Choose a AI model type and Agent role
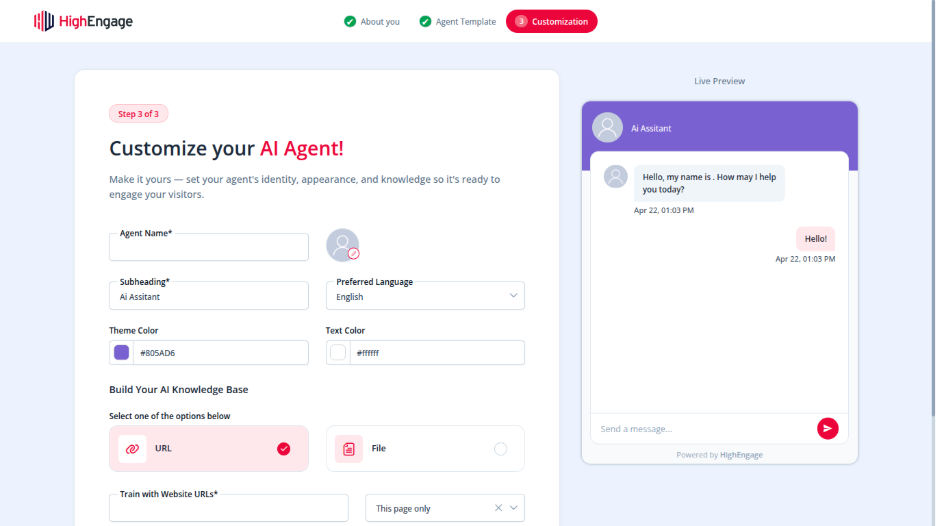
This is what your agent will use to respond to users.
After Completing Onboarding #
Once you finish these steps:
- Your AI agent is created
- You can start testing conversations
- You can further customize workflows, integrations, and settings
Once completed, your agent is ready to go live.
If you have any questions, concerns, or need further clarification, please contact support@highengage.com for assistance.


